

Hello Readers!
Today is my Mother's Birthday! My mom is now a very beautiful and vibrant 57 years young. I decided to search through Pinterest to find an idea for a great birthday present that my mom would truly appreciate, let's hope I did well.
Let me first tell you a small bit about my mom. Peggy Darco is simply an amazing person. She is undoubtedly selfless in all her daily duties. She watches her grandchildren on a daily basis and provides them with home cooked meals, craft activities, and unconditional love. Surely our children (my brother and sisters) will have some work to do when our kids grow up and realize not everyone is like grandma! She hasn't always been a grandma, prior to these times, she was a softball star, a trophy winning bowler, and was and still is the apple of my father's eye. So, read along for a fun craft idea for your mom, grandma, or loved one in your life.
My son and I were running some errands when I told him to look up some ideas on Pinterest for Grandma on my phone. We searched "Birthday Gifts for Grandma" and scanned through the results. We found an idea, but we had to go to the craft store to get some raw materials. I frequent the same craft store and coupons are always available if you know where to look, here is a way to save.
There is an "App" that you can download on your mobile device called Retail-Me-Not and it's a quick way to save some cash for in store purchases wherever you shop.

I was going to a craft store called Michael's, I looked at the "special offers" available and there was an offer availble for 40% off one regular price item! Click on the offer and have the checker scan it on your phone just like it was a barcode for a purchase. It is very easy to do and the cashiers are used to the process so it goes very smoothly.

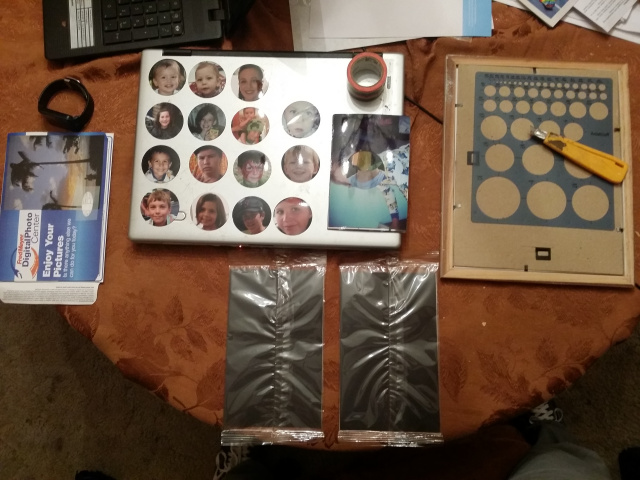
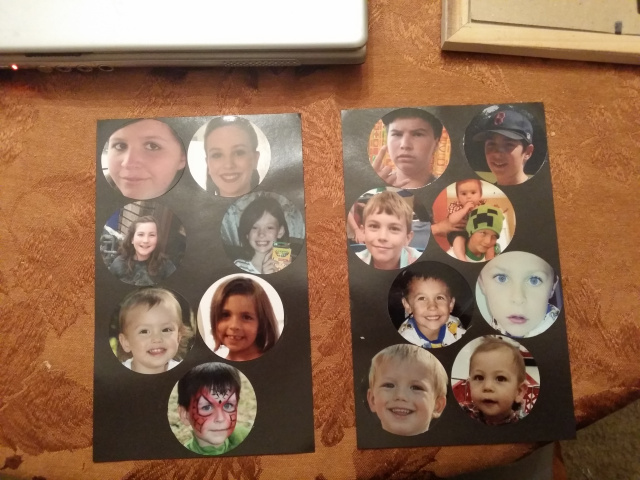
I had the supplies for my idea so we head home and searched Facebook for some pictures of my mother's 15 grandchildren. I found and saved some images to my computer then uploaded them to Fred Meyer's Photo Center website (I use Fred Meyer because I frequent the store often and it's easiest for me, Walgreen's or Costco etc. may be best for you).

I had Fred Meyer print 15 pictures for me and at .13 cents a piece for a grand total of $1.95! What a deal! I went to the store and picked up the pictures a half hour later and went home to get to work.
First I had to cut 2" circles around the faces of each of the 15 grandkids.
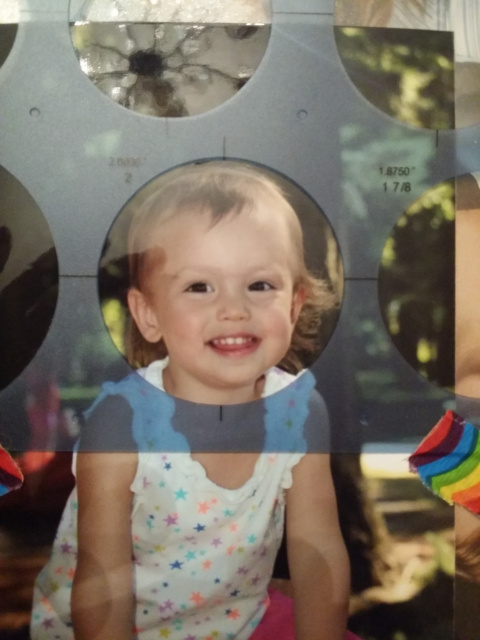
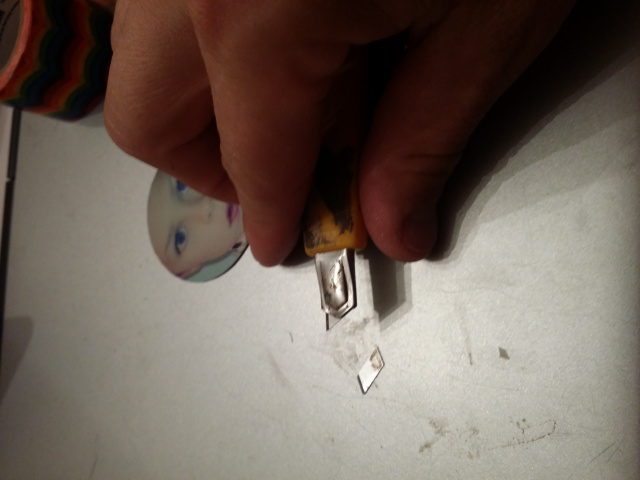
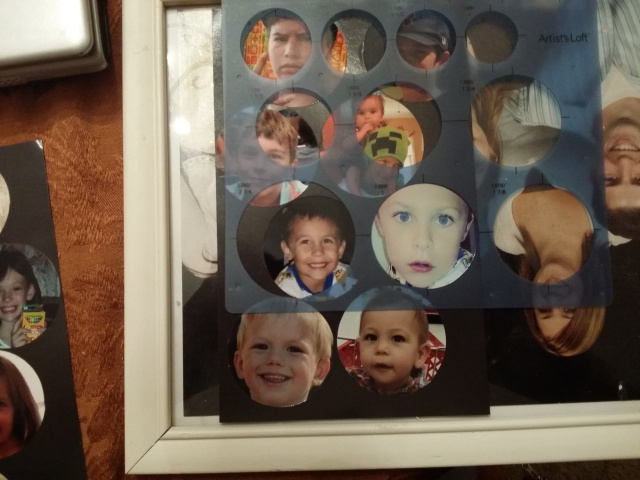
Center the photo around the face however you like and get ready for the cut. I used a razor knife available at most any store. The key here is to make sure you are using a sharp blade so you can cut with ease. I "snapped" the tip of the blade off to ensure the blade was sharp for all my cuts to avoid any "snagging". Blades come with lines in them that clearly show how many times you can "snap" the dull tips off. Each snap line is about a quarter of an inch from the next. Expose the blade to the next snap line, hold the blade adjacent to the lateral surface, place your thumb on the exposed part of the blade and press it against the table while lifting the knife 45 degrees. When complete you have a sharp new tip and you are ready to cut!
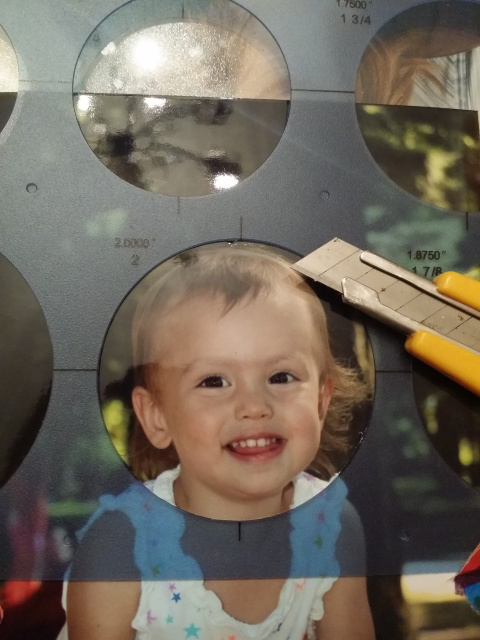
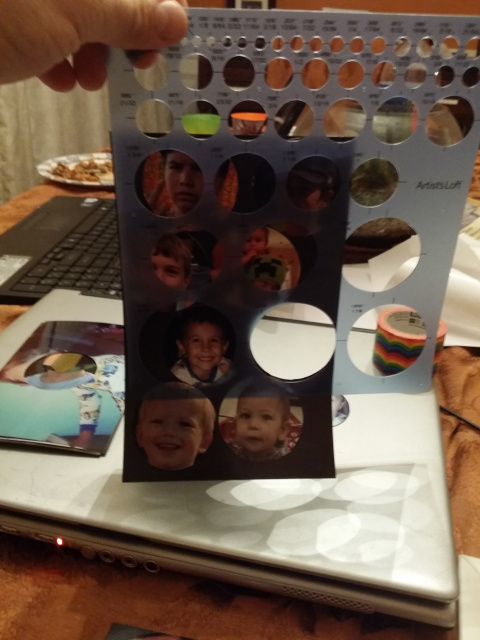
Now that the blade is sharp, cut the circles by holding the template firmly against the picture (I added tape to ensure there wouldn't be any movement).
Now, it's time to apply our circles to the adhesive magnet that I purchased at Michael's.
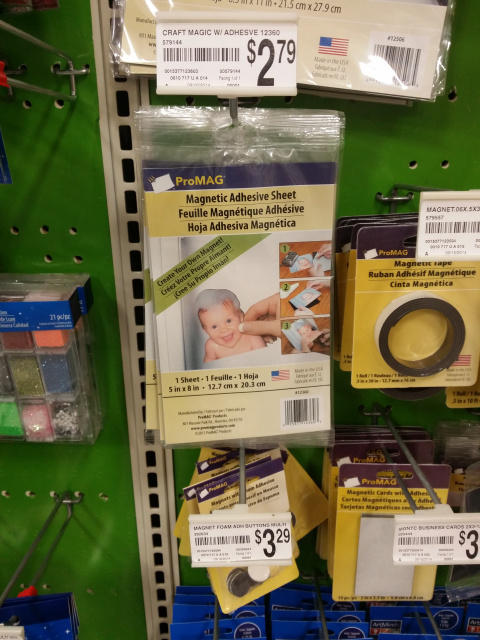
Before removing the protective layer from the adhesive magnet layout all your circles to make sure they will all fit!
Once you know the circles will fit remove the protective sheet from the adhesive and apply the circles to the adhesive magnet.
The circles have all been applied to the adhesive magnet and now it is time to make our circle cuts once more. Lay the template over the circle on top the magnet, be careful to line the template and circle up as best you can! Make your cut, it should look like this!
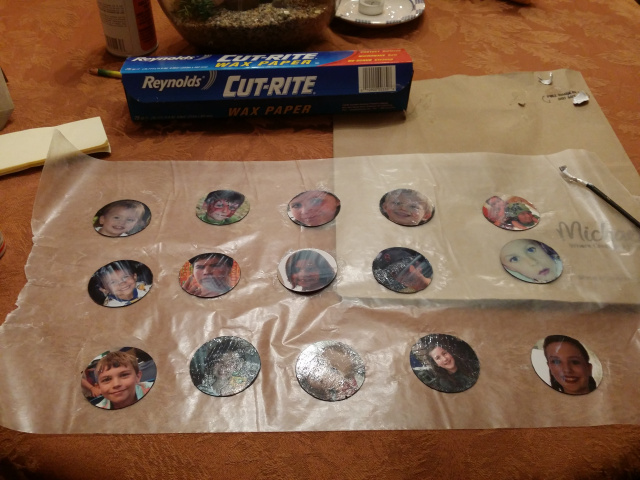
Now that they are all cut out, set the circles on a piece of wax paper and apply a product called "Mod Podge" available at Michael's craft store.
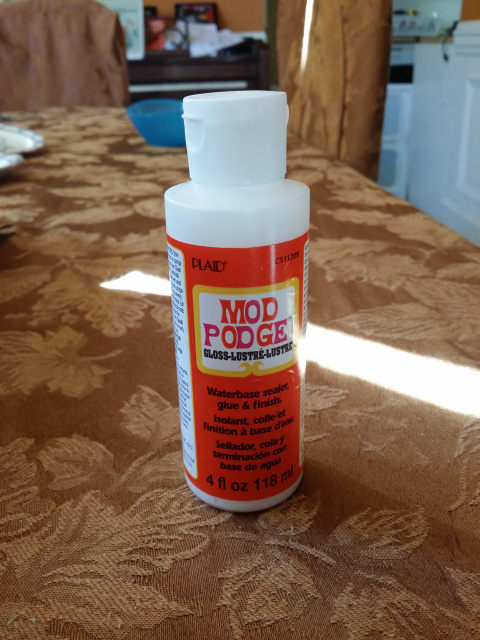
This product is going to help create longevity to our creation by adding a protective layer to our craft. Grab a small paint brush and apply an even coat to the surface of the photo.

When you are finished this is what you should see!
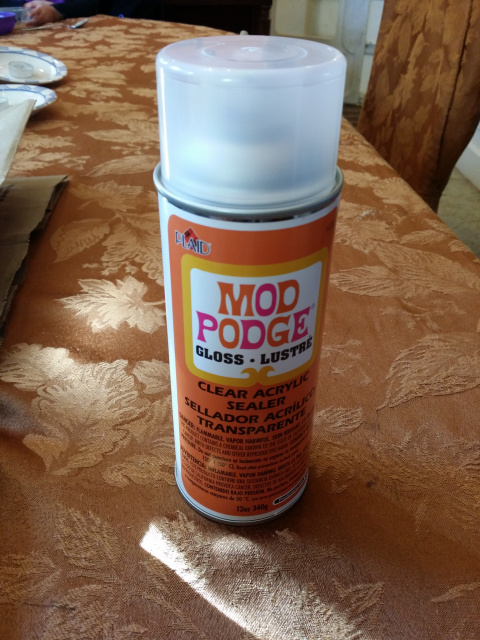
Let the Mod Podge fully cure on the photo circles, preferably 24 hours. Once cured, I spray a couple coats of Clear Acrylic Sealer over the photo circles.
Set the picture circle magnets in place and spray the clear over the objects very lightly.
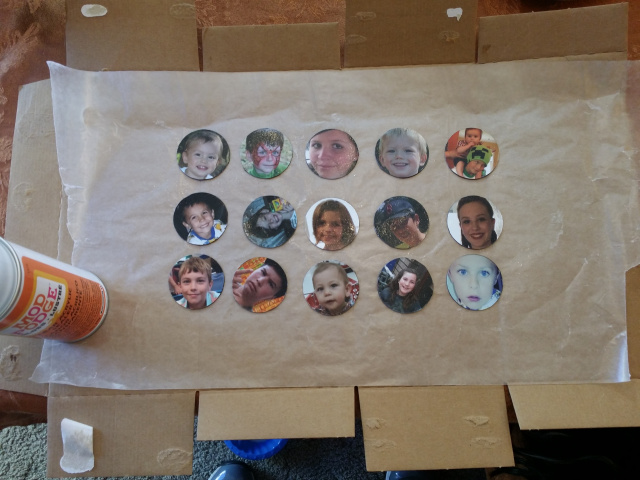
Put on two coats and wait about a half an hour in between. This step is another way to give the photo circle magnets longevity.
Once dry they should be ready to go on the fridge! Hopefully they will make someone happy, whether it be a gift or simply for yourself. In this case, I hope they make my mother happy!

Happy Birthday Mom!