

Hello Everyone!
We are in full swing during our summer painting season so "creative" projects have taken a backseat to "necessary" projects. The project I have for you today is a rebuild of a gate that was atleast 30 years old. I know that because my parents bought the home in 1984 and the gate was there at that time. The gate has received "maintenance" over the years, but never been completely rebuilt until now. So without further ado, lets rebuild a gate!
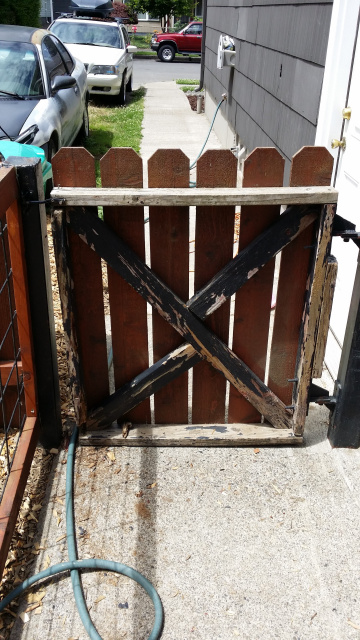
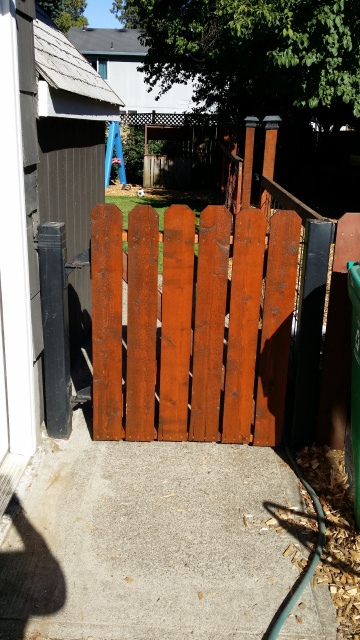
Here's what we started with! A flimsy gate that had failing paint and was literally falling apart because my dog likes to jump on it to see the people walking by.
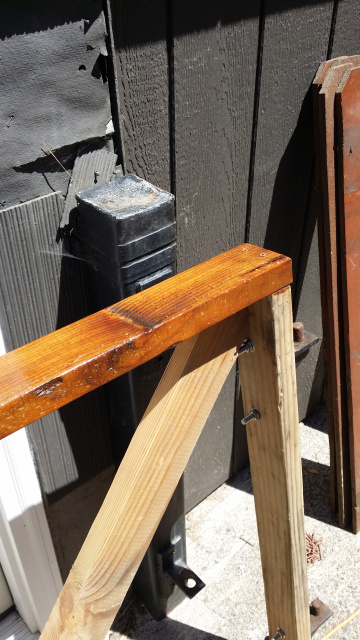
So I took measurements of the dimensions and set up a work table so I could cut my pieces.
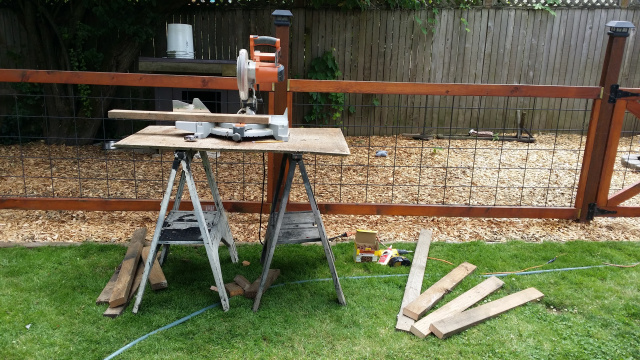
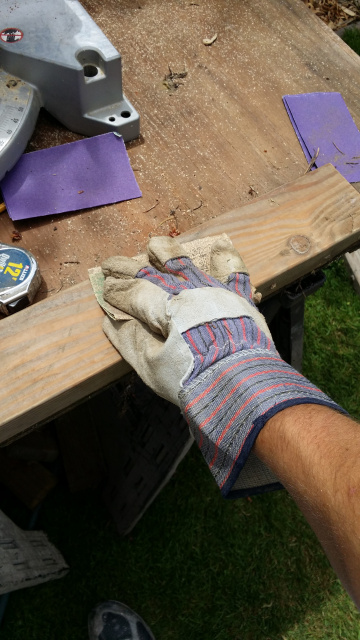
I used old 2 x 4's I had lying around for this job to minimize the expenses. I re-cut my old 2 x 4"s using a miter saw to the same length as the existing boards on the gate. Once the pieces were cut, I sanded the 2 x 4"s down with an 80 grit sandpaper to get rid of the dirt and splinters that remained on the piece of wood.
Before I assembled the two pieces together I predrilled my wood with a drill bit where I was going to put the screws to hold the gate together. Pre-drilling the screw holes is very important because it gives the wood a much smaller chance of "splitting". When would "splits" it has a tendancy to fail faster which means the wood may rot.
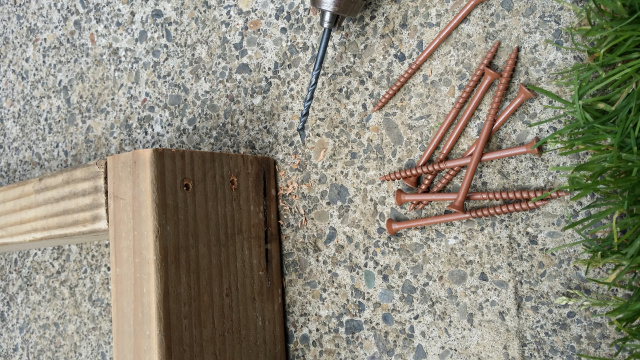
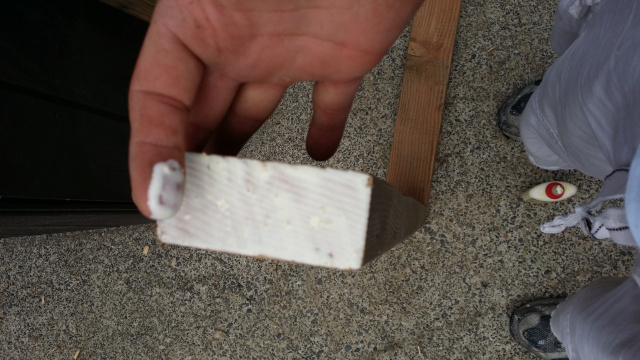
After pre-drilling the screw holes I applied wood glue, first to the screw holes and then all over the contact points where the wood will meet when screwed together.
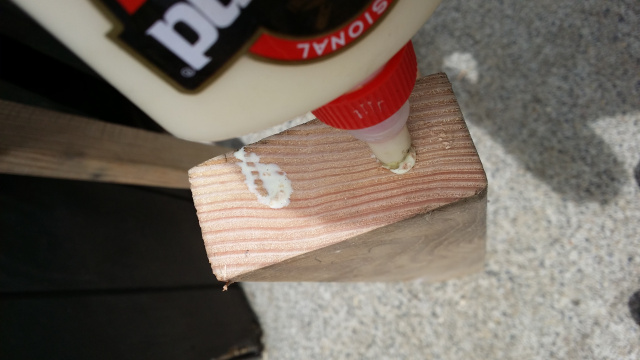
I don't really know how necessary this step was, it may very well be overkill. I just wanted to make the strongest gate I could possibly make with what I had.
If you need someone to help you keep track of your tools, find yourself a helper. For this project, my son was keeping track of my tools.....for a short while anyway!

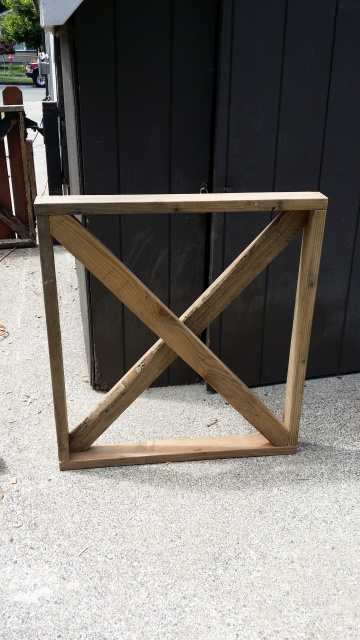
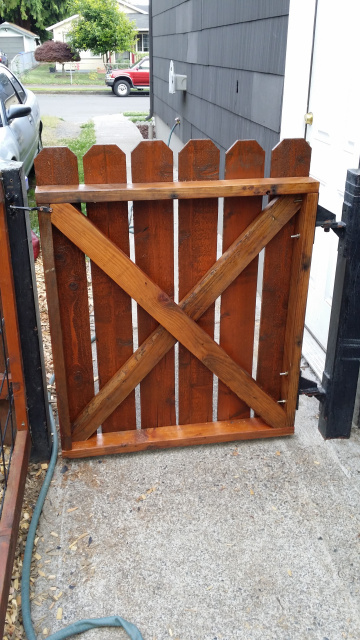
Now we have got our frame built so it's time to build some cross braces.

I took the measurement from corner to corner and cut my 2 x 4 to the length of my measurement. Next I placed the 2 x 4 over the top of the frame and drew a straight line where i needed to cut off the excess. This is very much amateur carpentry at this point, but let me tell you it works. Besides i havent done any algebra or geometry in years so this was a good way to stabalize the gate and get it done quick without having to exercise my brain too hard!

After i made my cuts I inserted the 2 x 4's in their place and pre-drilled the wholes where I would be screwing them together. I removed the pieces and applied would glue and inserted them back in place. Then I screwed the 2 x 4's in using 3" decking screws which are coated to help prevent rust and eventual breakdown. Just a few more steps and we are back in business!
Next I removed the old gate. It's a very simple removal process actually, all I had to do was lift the gate up and remove the male end from the female end. I then dismantled the gate first by removing the fence boards and then the rest of it pretty much fell apart. The next step was to remove the brackets from the old gate and apply them to the new gate.
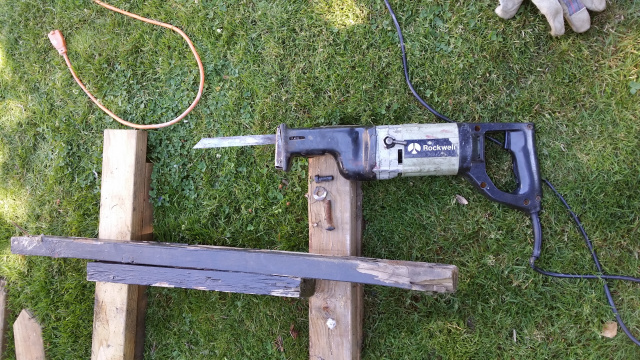
Removing the brackets was a bit of a pain. I had to use a reciprocating saw also known as a "sawzall" to cut the bolts because they were so heavily rusted and could not be broken free.
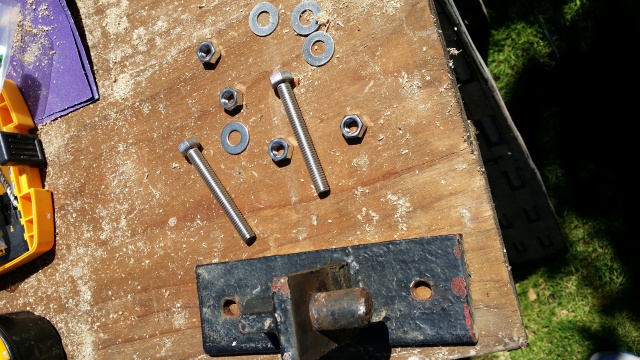
Once I removed the brackets, I placed them where I would like them located on the new gate and marked the openings with pencil where I would pre-drill holes for my new bolts I bought from my local Ace Hardware.

I opted to go with stainless steel nuts, bolts, and washers to avoid any potential rust problems in the future. Although stainless steel is more expensive I felt it was worth the expense for this project.
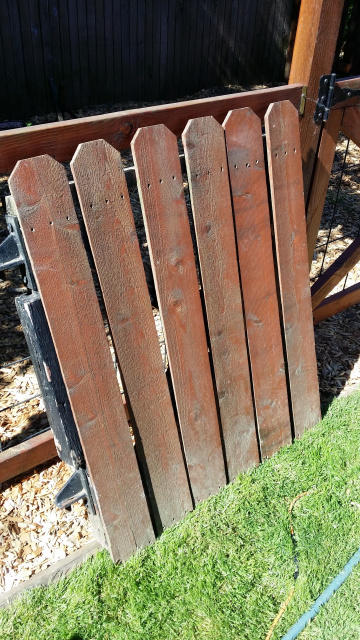
Now that the brackets are installed I opted to start staining the gate frame. Quick tip* Flip the gate upside down first to stain the bottom of the gate to make sure you don't forget!
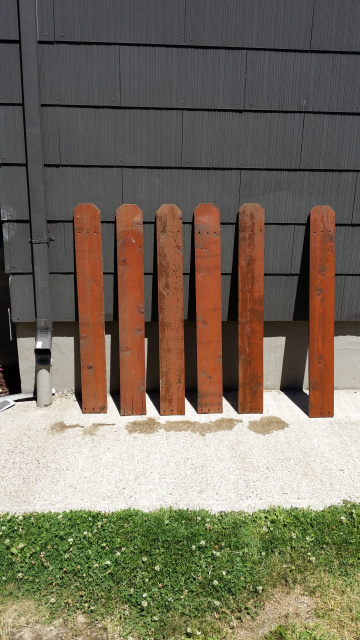
I washed the old fence boards with soapy water and a car wash brush and let them dry in the sun. Once dry I added a coat of stain to all 6 sides to help protect the boards from the weather. Once stained I screwed them back onto the gate using the existing holes.
When all the boards were stained and attached I rehung the gate and added the latch and voila! From the Front!
And the back!
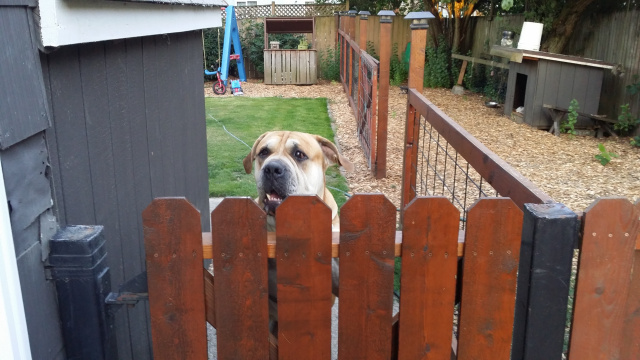
I was able to keep the dog off the gate for a couple days while the stain dried, but a week later he is back on the gate doing what he does. Hopefully this time it will have the strength to withstand this giant pup!
Materials and tools for this project included: 20' of 2 x 4, decking screws, wood glue, 80 grit sandpaper, tape measure, pencil, various size drill bits, miter saw, reciprocating saw, new stainless nuts, bolts, and washers, and Sikkens Cetol Log and Siding stain, stain brush