
Hello Again!
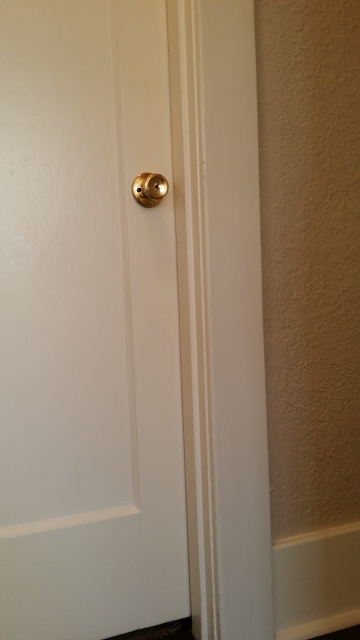
Today I have decided to share with you a Do-It-Yourself method for removing pen and pencil marking from your trim, as well as the the proper way to touchup your walls. In the image below we have a few different "drawings" made by my two young children. They used ink pen and pencil to craft their masterpieces on the trim. I made a first attempt to clean with warm water, when I realized it wasn't coming off I decided to blog about it.
First off, why would someone want to remove or cover these markings on their trim or walls? Well, you could be a renter looking to get a deposit back, a home-owner prepping the house before it sells, or someone trying to get ready for a party, perhaps an engagement/birthday party.
In the image below the drawings were made on trim that was painted with an oil-based paint so the procedure for removal will be based on that. If your trim was painted with a latex based paint you can follow the same procedure I have shown below for covering ink and pencil markings on walls since the walls were painted with a latex based paint.

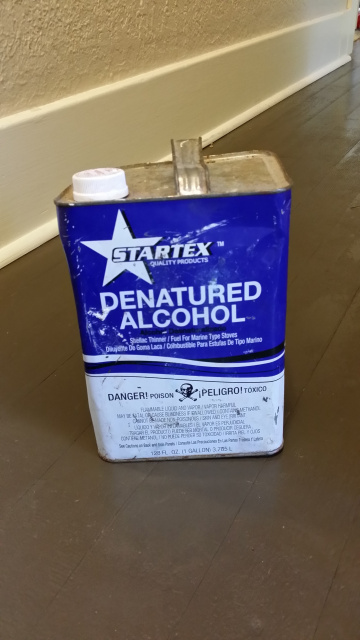
1. To clean the ink pen and pencil off this trim we are going to use a product called "Denatured Alcohol", as you can see in the image below...
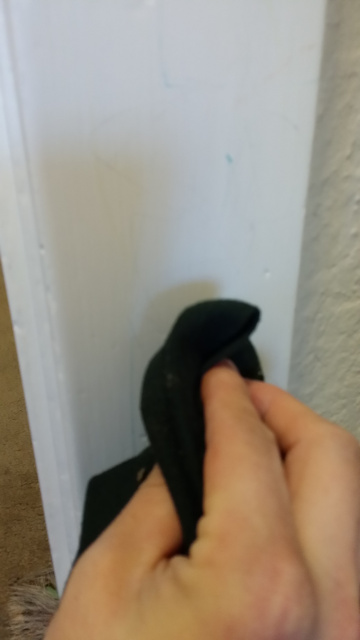
2. First open nearby windows and allow air to flow, denatured alcohol has a bit of an odor to it, similar to nail polish remover. Next, take a rag and fold it over upon itself multiple times to build thickness. To avoid spilling, place the rag on top of the open can of denatured alcohol and tilt the can so only the area covering the cap gets wet. In the image below I used a dark colored rag so you could see how the paint is not removed from the trim while we are cleaning.

3. Once you have the rag wet you can begin wiping down the areas that were drawn on with the denatured alcohol. It should come off without too much elbow grease, however, all markings are not created equal so some markings may require a little more effort than others,
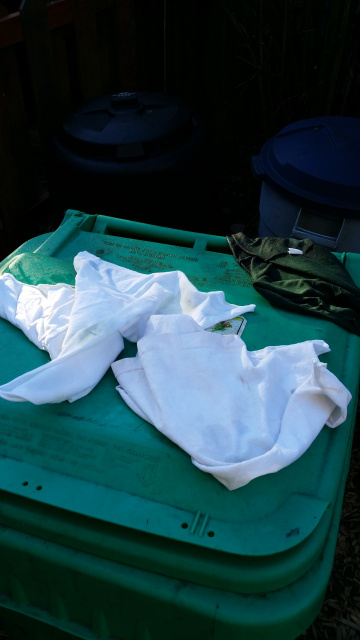
4. At this point your trim should have cleaned up nicely and you should have a nice looking surface again. Now, we need to set the rags outside and let them dry before we toss them in the garbage or wash them in the laundry with our other rags. (not clothes)
5. The finish product should look very nice, almost as if it was freshly painted.
Now for those Walls......
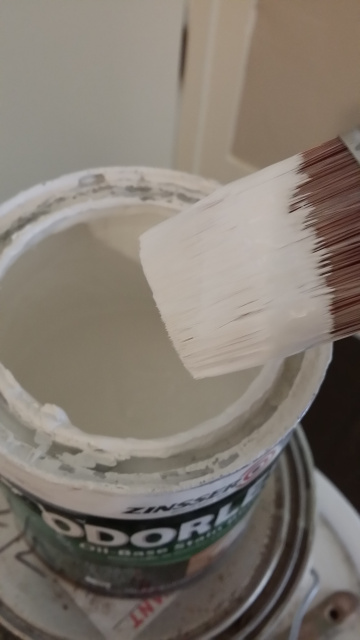
1. Ink pen on walls is a bit of a different situation. The best way to fix ink pen on walls is to prime the markings with an oil based primer. For the markings on my wall I chose to use an odorless oil-based primer to keep the smell down. This product is available at most paint and home improvement stores.
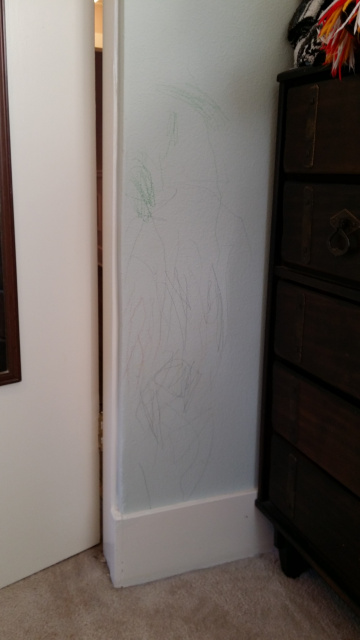
2. The walls below have been marked with ink and pencil. Pencil will come off the walls with warm soapy water and elbow grease, however, ink needs to be covered. We can not use denatured alcohol for this because denatured alcohol is a reducer for latex paint. That is why the denatured alcohol did not affect the surface of the oil-based paint on our trim. Below is the image of the walls covered in ink markings...
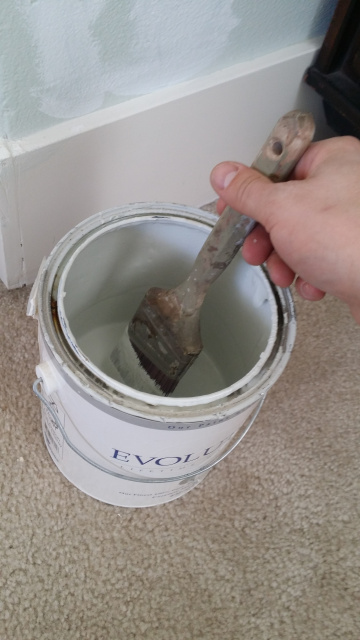
3. In the image below I have used a small brush that I am going to throw away. The reason I am throwing this brush away is because it is more difficult to clean since we are using an oil-based primer. Normally, this brush would have to be cleaned with mineral spirits and it can get messy. To avoid messy, I recommend using a cheap brush from The Dollar Store or someplace similar. Also, use an old towell or drop cloth to put your primer on. In this picture below I should have protected the carpet before I started priming.
4. Now that the primer is dry on the wall we can "touch up" with our paint. Be sure the lid is on the paint can very tight and shake your old can of paint well. Once shaken, use a flat head screwdriver or paint can opener to open the lid. Stir the paint with a paint stir stick to ensure it is ready to apply. Once stirred, dip your brush and take your time applying. You are on the home stretch here so there is really no need to rush it. Once you "touch up" you are done! Some colors may require multiple coats of "touch up" paint depending on the color of your wall. For tips and tricks if your scenerio is different leave a comment below and I will be sure to respond.
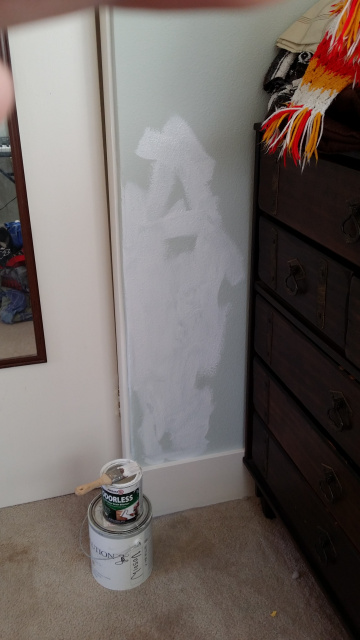
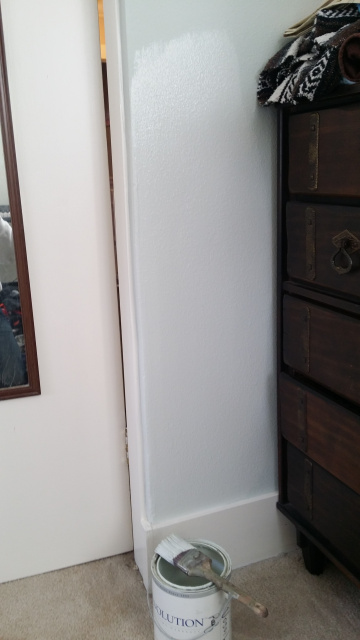
5. When you are priming you only need to prime the areas affected. When you are painting the wall paint the entire area that was affected and not just the spots. If you paint the entire area you have a better chance of the "touch up" spot going unnoticed. The wall color looks a little different now but it will dry down and look great!
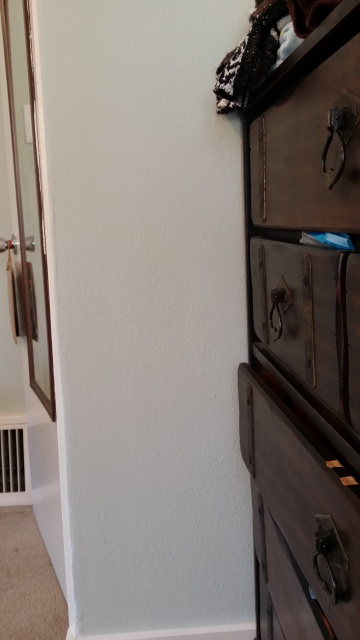
6. The wall is now dry and the touch up spot is no longer noticeable. Be sure to clean your brush right away with warm soapy water to ensure a long lasting brush.
If you have any questions or comments please use the comment box below and I will get back to you. Enjoy your day.
List of items needed: Rags, Denatured Alcohol, Oil-Based Primer, Cheap Paint Brush, Stir Stick, Can-Opener, Touch-up Paint, Good Paint Brush, Drop Cloth